
In light of all of the serious posts I've shared lately, I figured it might be time to lighten up the mood and share one of our DIY projects that we've been working on. I'm a little proud of myself for this one because it actually wasn't an idea that I borrowed from Pinterest.
Last spring, my boss taught me (and our resident crafters) how to make mosaic birdhouses. So a few months back I got the idea to create a mosaic mirror for our formal entryway/living room. I started by collecting various plates and pottery in various blue and green shades. I bought from The Dollar Tree and from the Salvation Army (during their holiday 50% off sales). In total, the plates and pottery cost $5.

Next, I bought a flat piece of solid wood... this was a score I found in the "as is" section of Ikea for just $3.99. I'm not sure what it was originally intended to be but it was perfect (and cheap!) for this project.
.JPG)
This round mirror also came from Ikea for $15.00.
We used the product "Liquid Nails" ($4.00) to attach the mirror to the backing.
.JPG)

These "C Clamps" were from Home Depot and cost under $1.00 each.
We left them on for 24 hours to make sure that the liquid nails was completely dry.
.JPG)
I've discovered that one of the ways I stay sane in this journey of parenting is to always, always involve my daughter in my projects. It would be easy to brush her away and tell her to go play toys. But really, what does that accomplish? I would feel annoyed and she would have her feelings hurt. She's three and she wants to be just like her mommy. So, I let her join in. And this was no exception. Watch my rock star girl as she shatters some dishes and pottery. This was definitely our favorite part!
.JPG)
.JPG)

My beautiful girl!
.JPG)
See? Doesn't she look so excited!

Next we used clear tile glue ($3.00) to attach the broken plates and glass.

When all of the pieces were glued on... we took a several day break. This was tough work!
Eventually we got to the messy part.

Plaster of Paris is a powder that, when mixed 2 parts to 1 part water, creates....goop. Or grout. Whatever. Regardless, it was messy. We also mixed in some gold acrylic paint to give the color a tint...which we found out didn't do much of anything in the end.

Yes, that's my absolute STUD of a husband!

We (completely) covered sections of the tile with the grout mix. A note to anyone who tries this project- the grout does dry fast. When it says 6-8 minute drying time on the container, it really means 4-5 minutes. If you cover too much of the tile, you won't be able to wipe it off in enough time and you'll be using a razor blade to scrape grout off of the colored tiles. Like me below...
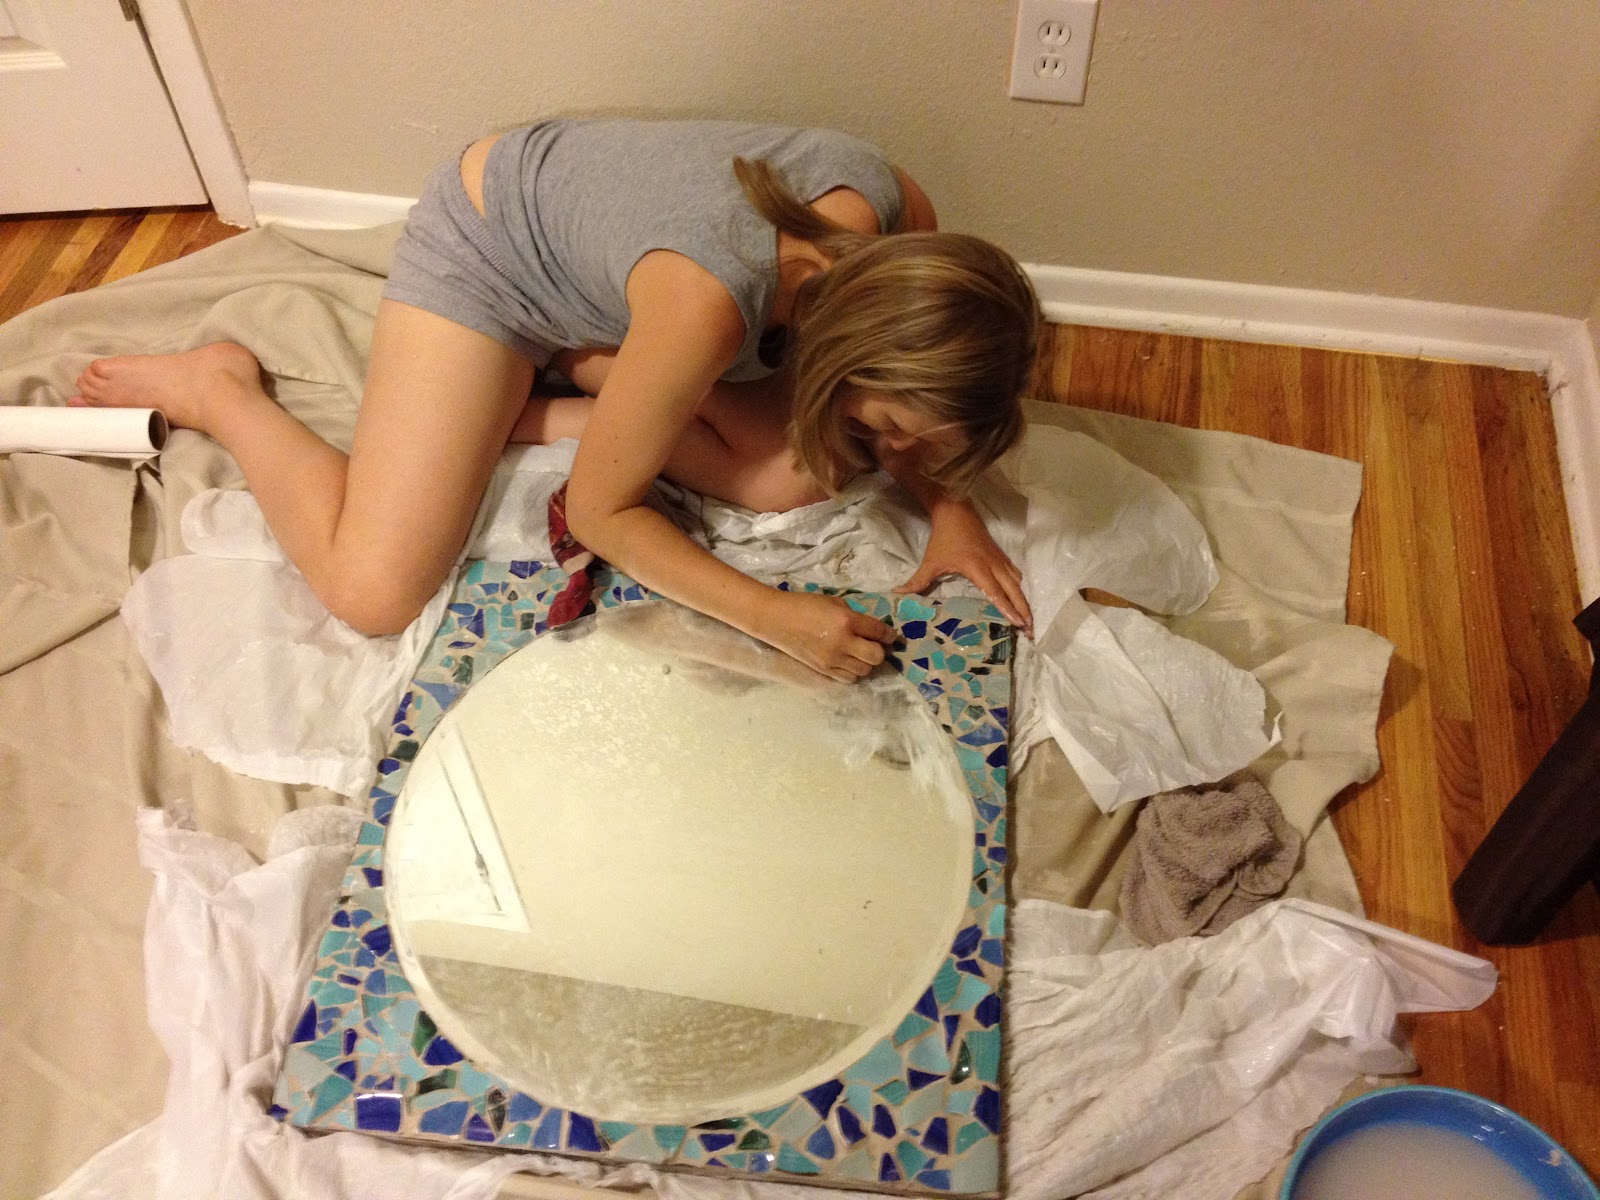
Wipe the tile off with a sponge or a towel that you don't mind throwing out after the project. Make sure you have a bucket of water nearby to rinse and re-rinse the towel.

And finally...

The finished product! We're very excited with how it turned out!
In total the project cost us around $25 ($40, if you figure that we used $15 of an Ikea Gift Card). It was a lot of work but we both agree, creating something together (as a family, no less) holds much more meaning to us than if we had slapped down our debit card and bought a mirror from Target.
Next up, I'm finishing this Pinterest find "tutu table" for Mack's bedroom! I'm hoping that when I share it with you, it will look as cute as the one in this picture :)


.JPG)


Ahhh! This is perfect! We are SO going to do this. Thank you!
ReplyDeleteZia
You won't believe this Seattle Senior Living resource